Installation on Mac OS
Steps to get ready to run Bendyroad Development Studio for the first time:
Prerequisites
Check minimum system requirements:
- macOS Catalina / Ventura (Intel-based)
You may be able to use other versions, but we do not test these. If you run into problems when using other versions, you have to fix them yourself.
Download & Installation
If you encounter any difficulties during the Windows installation process, refer to Troubleshoot mac installation for troubleshooting assistance.
Download the Bendyroad Development Studio MacOS installer package.
Open the 'Downloads' folder in Finder.
Right-click on bendyroad-[version].pkg, and choose menuitem Open with [Installer].
A warning pops up, click [Open]. The installer starts (if nothing seems to happen, it will be behind the Finder window).
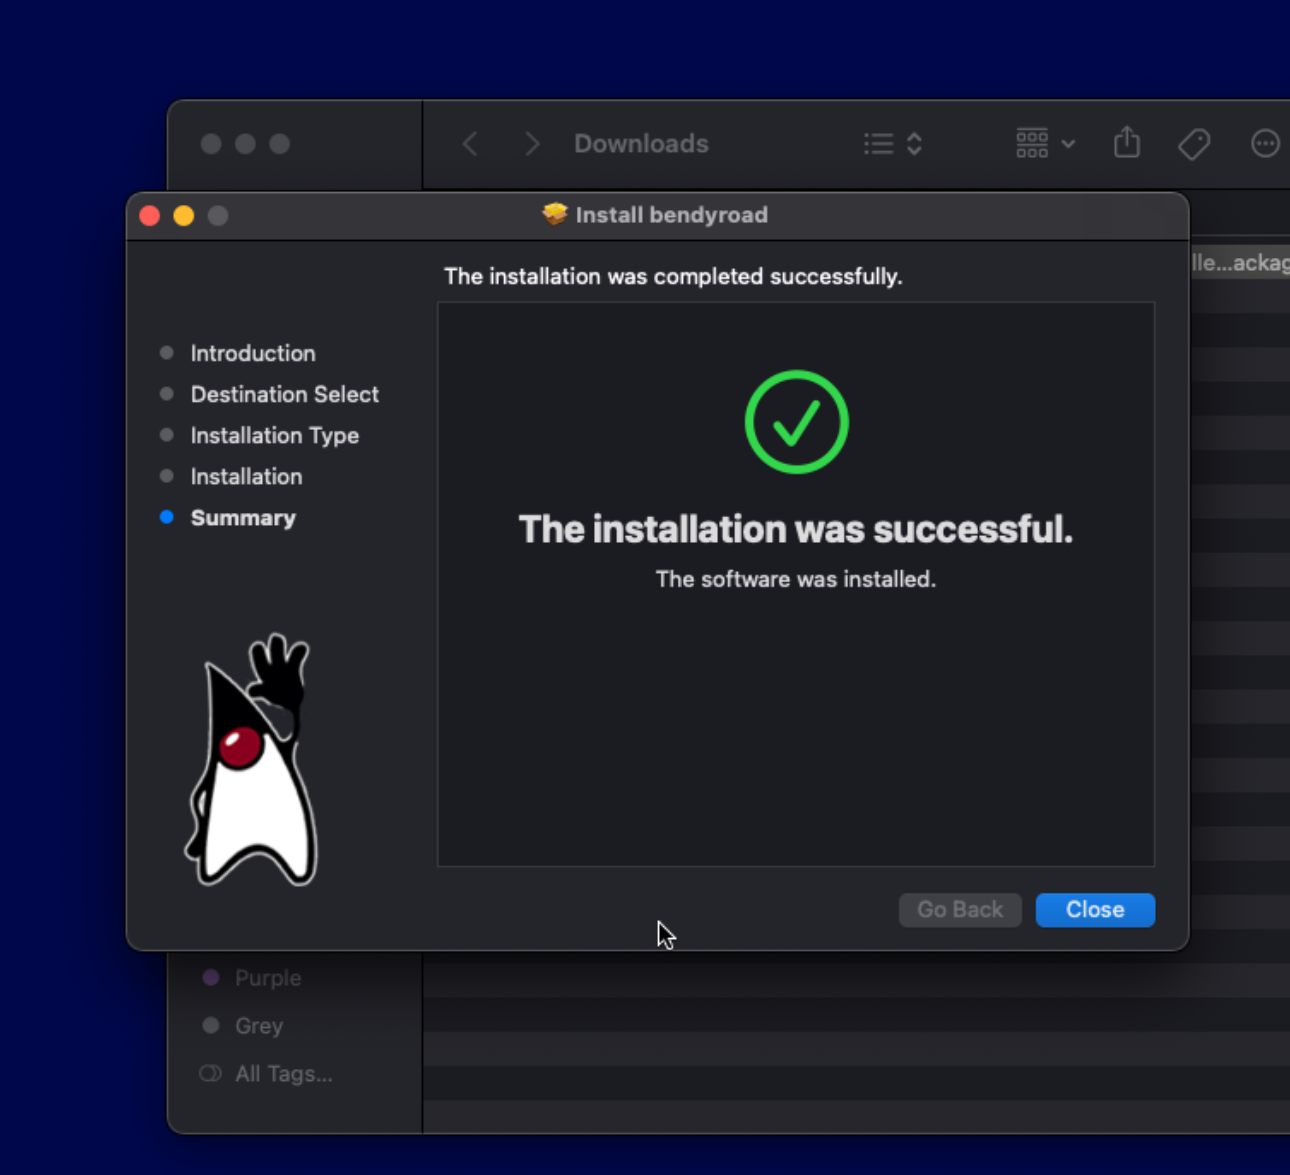
After 'The installation was successful', click [Close]. You can now move the installer package to the Trash bin.
Starting the Development Studio
You'll find Bendyroad in the Finder under Applications. Double-click it to start the Development Studio.
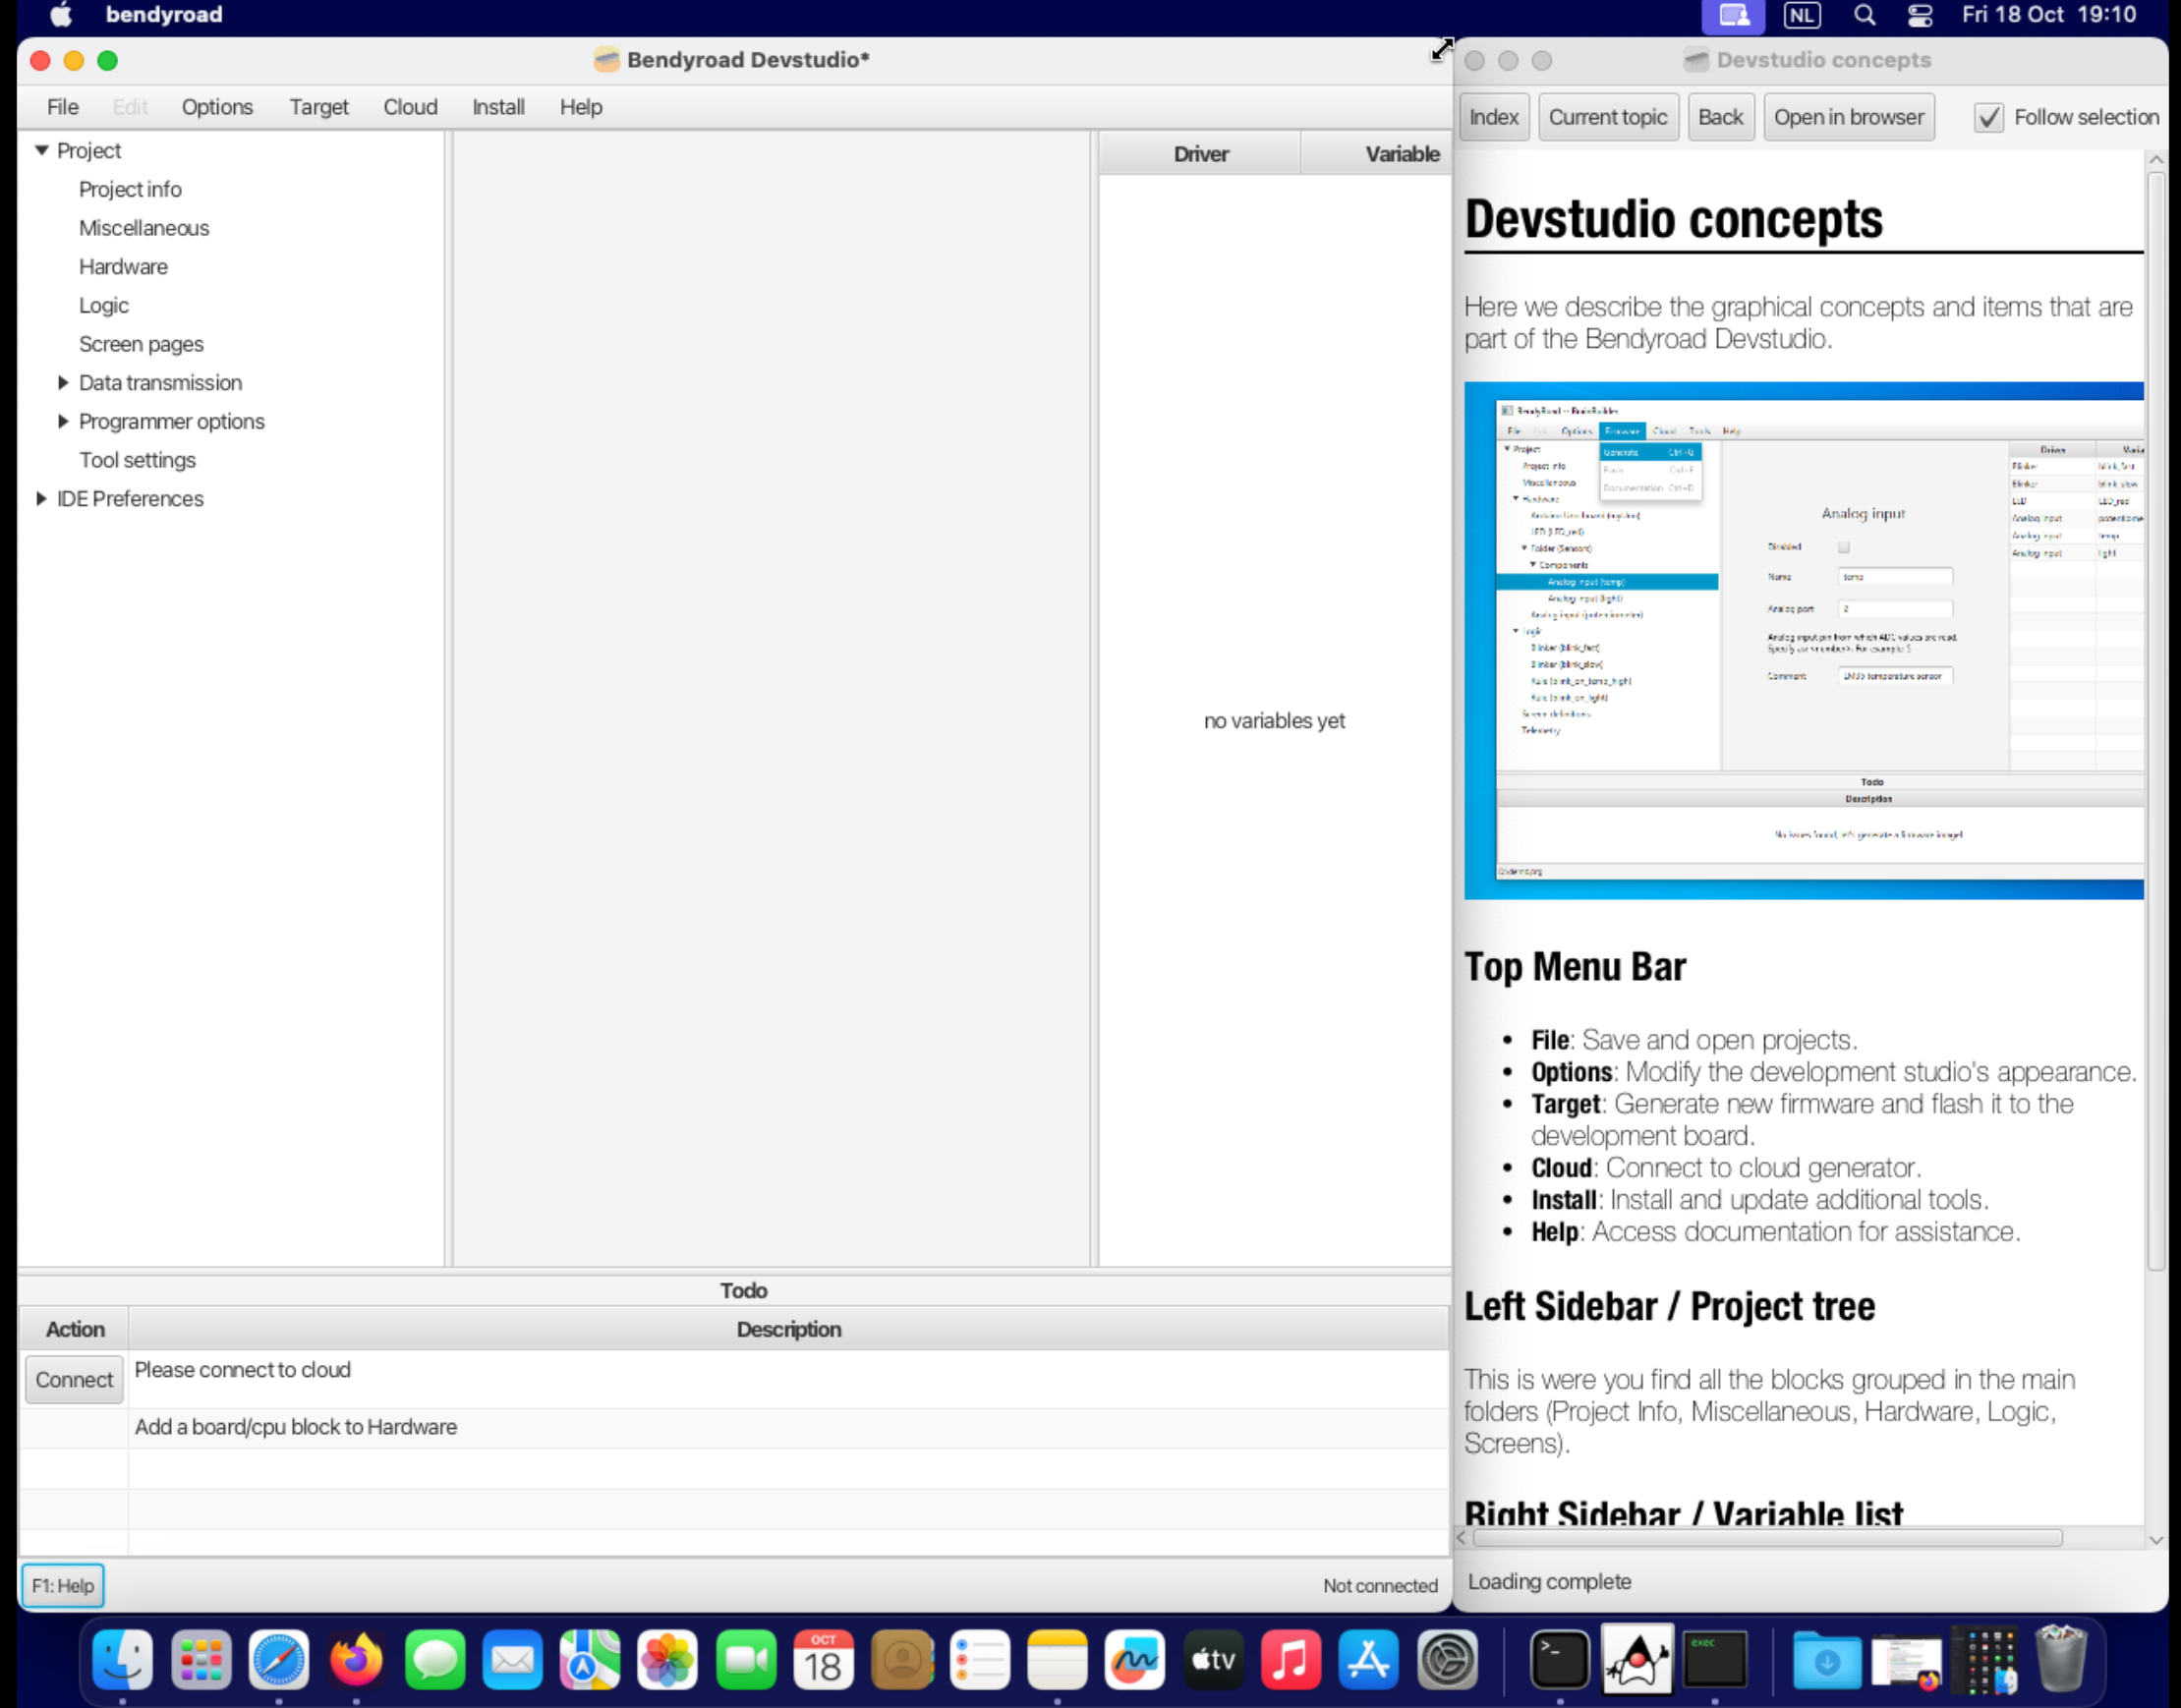
Please note that the first time you start Bendyroad Development Studio, it may take a little longer as it downloads the necessary program files.
For a more visually appealing experience, you can choose from various colorful themes by accessing the Options menu and selecting "Skins".
For easy access, you can drag the Bendyroad Devstudio icon from Finder/Applications or from the Launchpad to the Dock.
Start creating!
- Connect your development board
- Continue to Getting started